

Step-by-Step Guide: Mounting A Scope
May 5th 2023
Installing a scope requires careful attention to detail and proper alignment to ensure accuracy. Sometimes we like to wing it and mount a scope by just eyeball, which may work but when it comes to precision targeting sometimes the most minor misalignments can cause huge inaccuracies. Here's a quick step-by-step guide on how to install a scope with a focus on vertical alignment to ensure that you can confidently target at any distance:
Types of scopes need to be aligned when mounted: Scopes that do not come with a base mount: First focal plane (FFP) scopes, second focal plane (SFP) scopes, most scopes that have variable power adjustments, some fixed powered scopes. Scopes and sights that do not need to be aligned when mounted: most prism scopes, most red dots, and some fixed powered scopes. Scopes that have a base mount and do not need to be aligned only need to follow the first 3 steps.
CAUTION: Before continuing, make sure your rifle is unloaded and that there is nothing in the chamber.
1. GATHER YOUR TOOLS
You'll need a rifle, a scope, a set of scope rings or a scope mount, a scope leveling system, and installation hardware such as factory provided allen wrench.
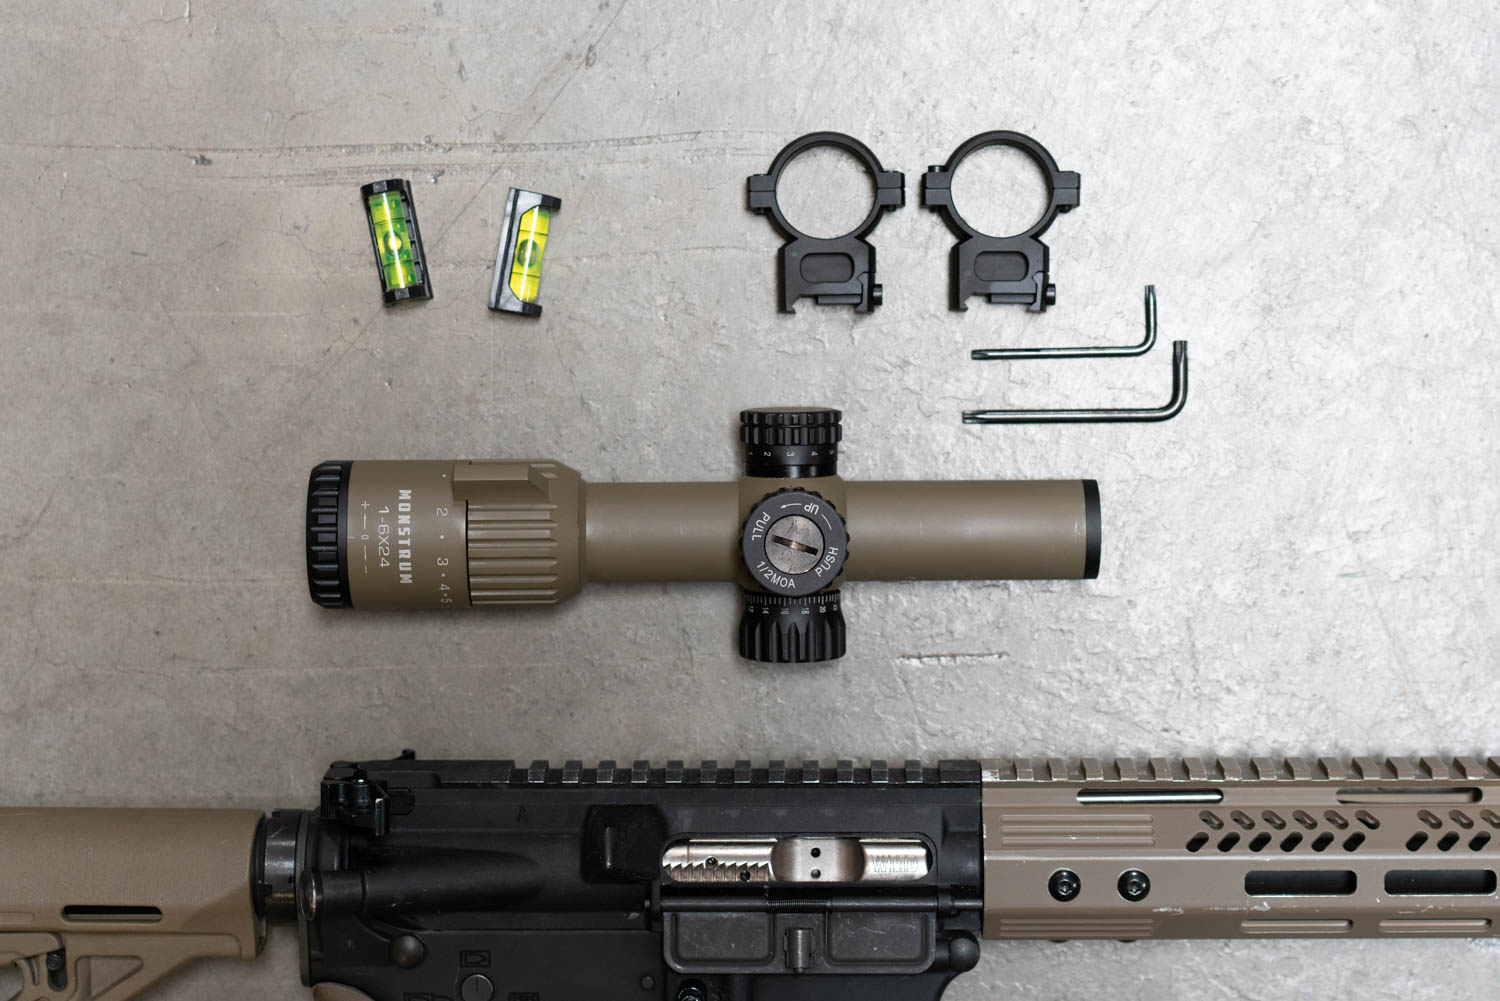
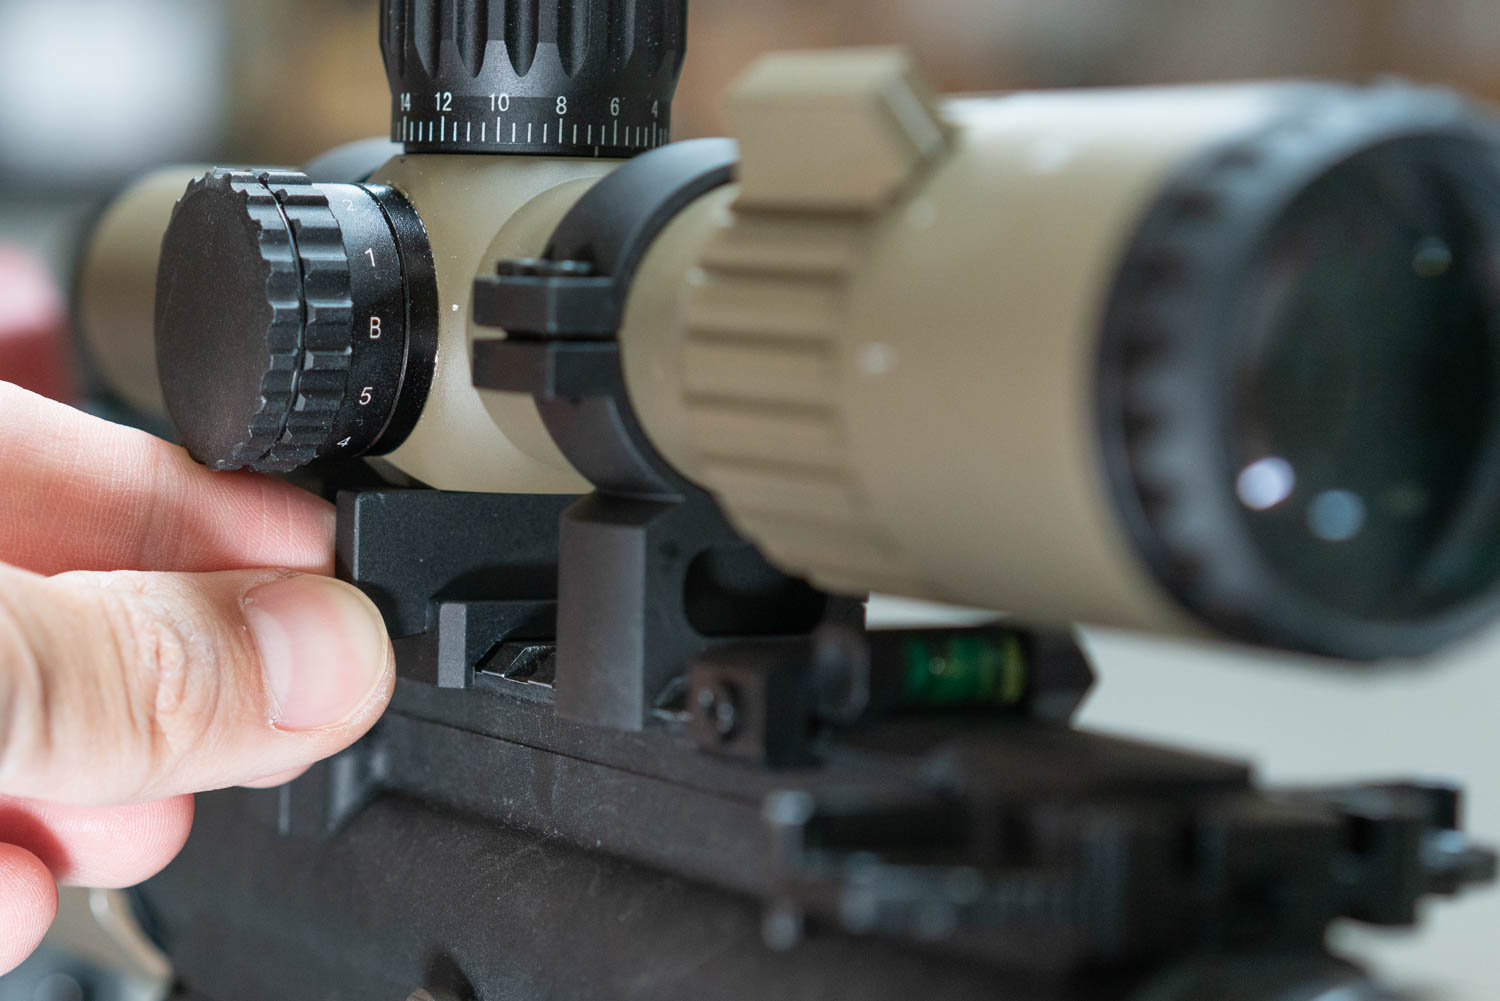
Featured here is the Monstrum 1-6x24 Spectre SFP LPVO and Predator 7075 Aluminum Scope Rings
Recommended but not required: Torque wrench (inch-lbs), a lever leveling tool, and blue threadlocker.
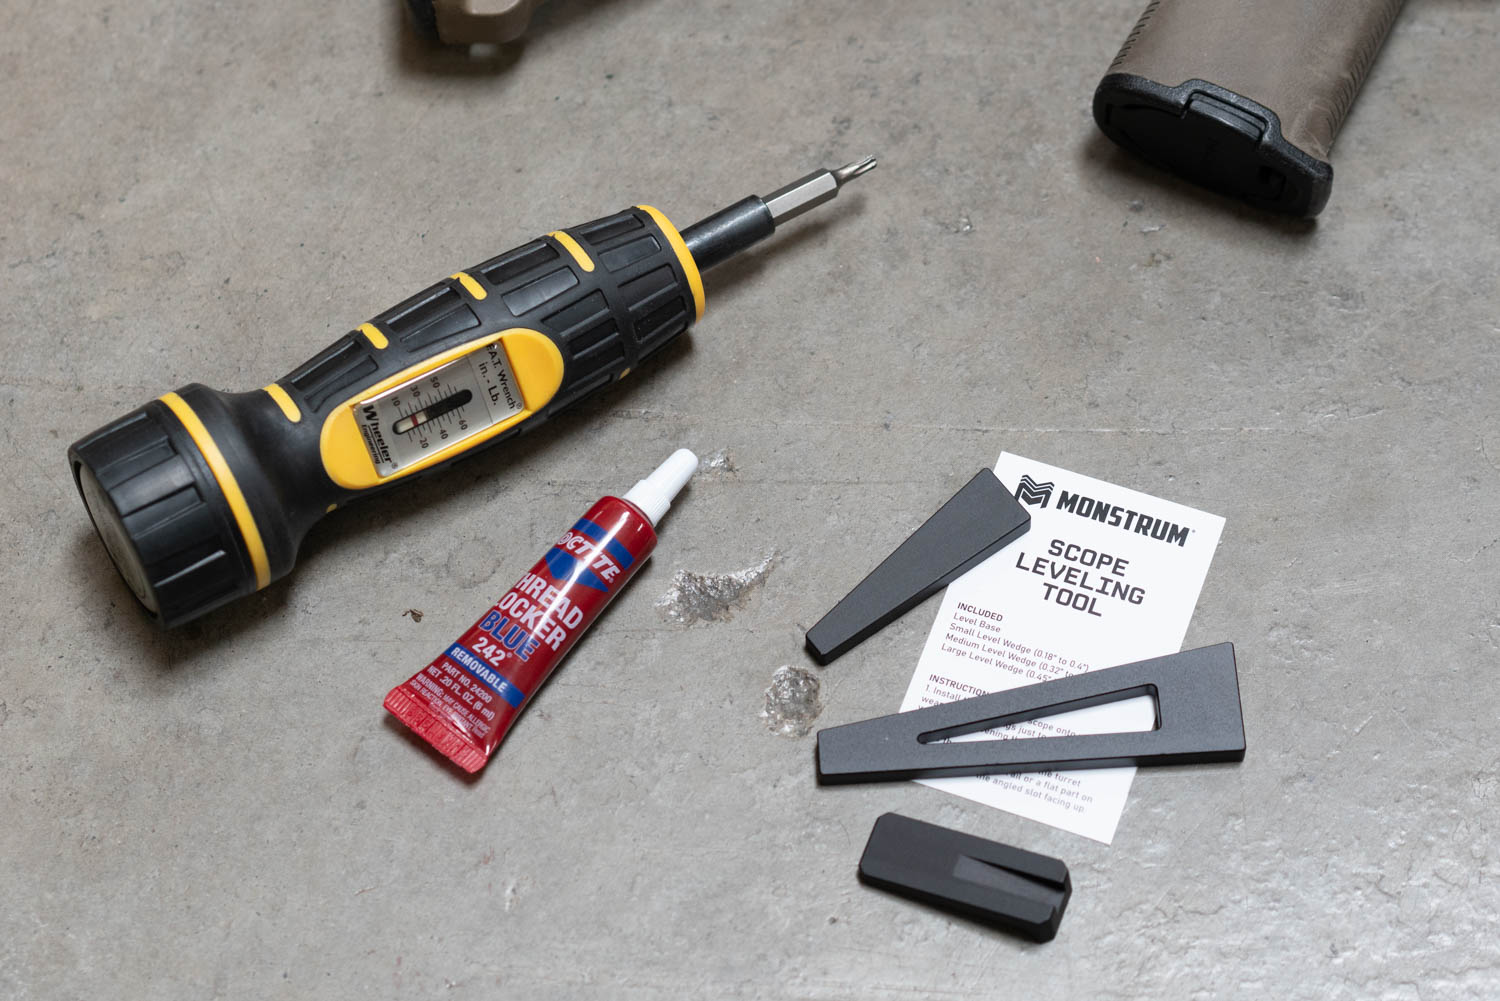
Optional but recommended: torque wrench, blue threadlocker, and a scope leveling tool.
2. POSITIONING THE SCOPE
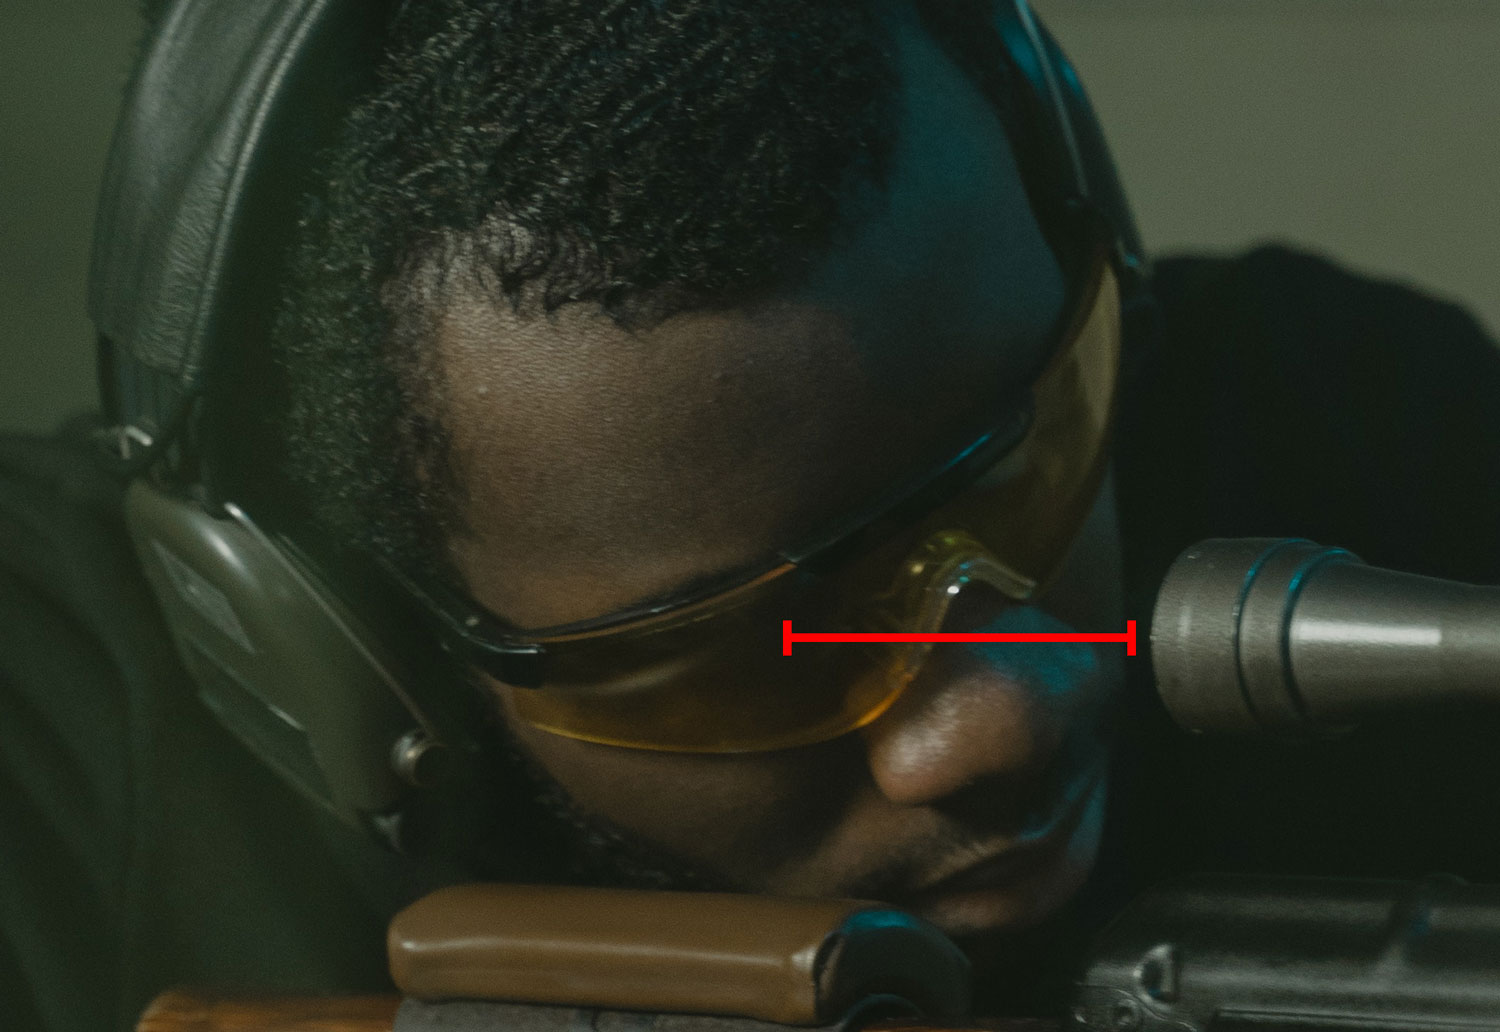
Hold your rifle in a comfortable shooting position with your cheek welded to the stock. Turn your magnification to the maximum setting. The optimal eye relief distance is the furthest distance between your eye and the scope while retaining a full circular field of view. Position the scope and scope rings or mount according to your optimum eye relief distance.
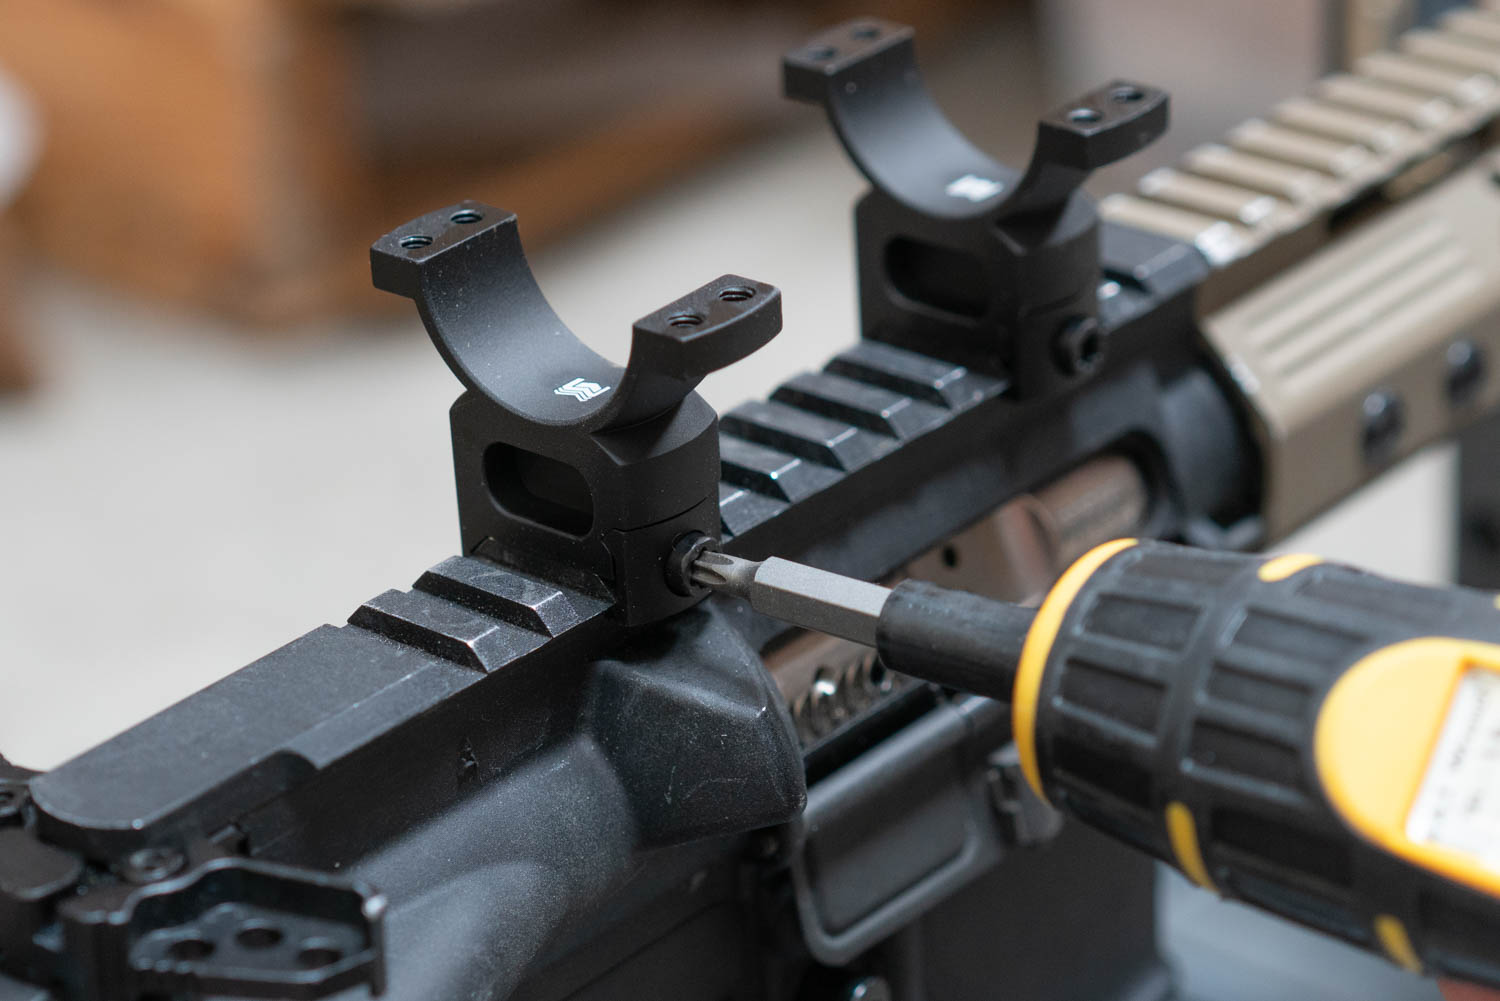
3. SECURE YOUR SCOPE RINGS/MOUNT TO THE RIFLE
Once you find the optimal scope position, remove the scope and tighten the scope rings’ or mount’s base screws evenly, and apply the appropriate torque settings to the base screws based on the scope mount’s manufacturer specifications.
Base Mount Torque Specification for Monstrum Scope Rings or Mounts: 25 in-lbs. If you do not have a torque wrench, we suggest hand tightening and add an additional 1/4 to 1/2 turn to get them snug. A drop of blue threadlocker such loc-tite® is recommended on the threads of the screws.
For Monstrum scope rings/mounts: 25 in-lbs or 1/4-1/2 turn after hand tightened.
4. LEVEL THE RIFLE
Using a leveling tool of your choice, mount the leveling device. Adjust the rifle's position until the bubble is in the center, indicating that the rifle is level.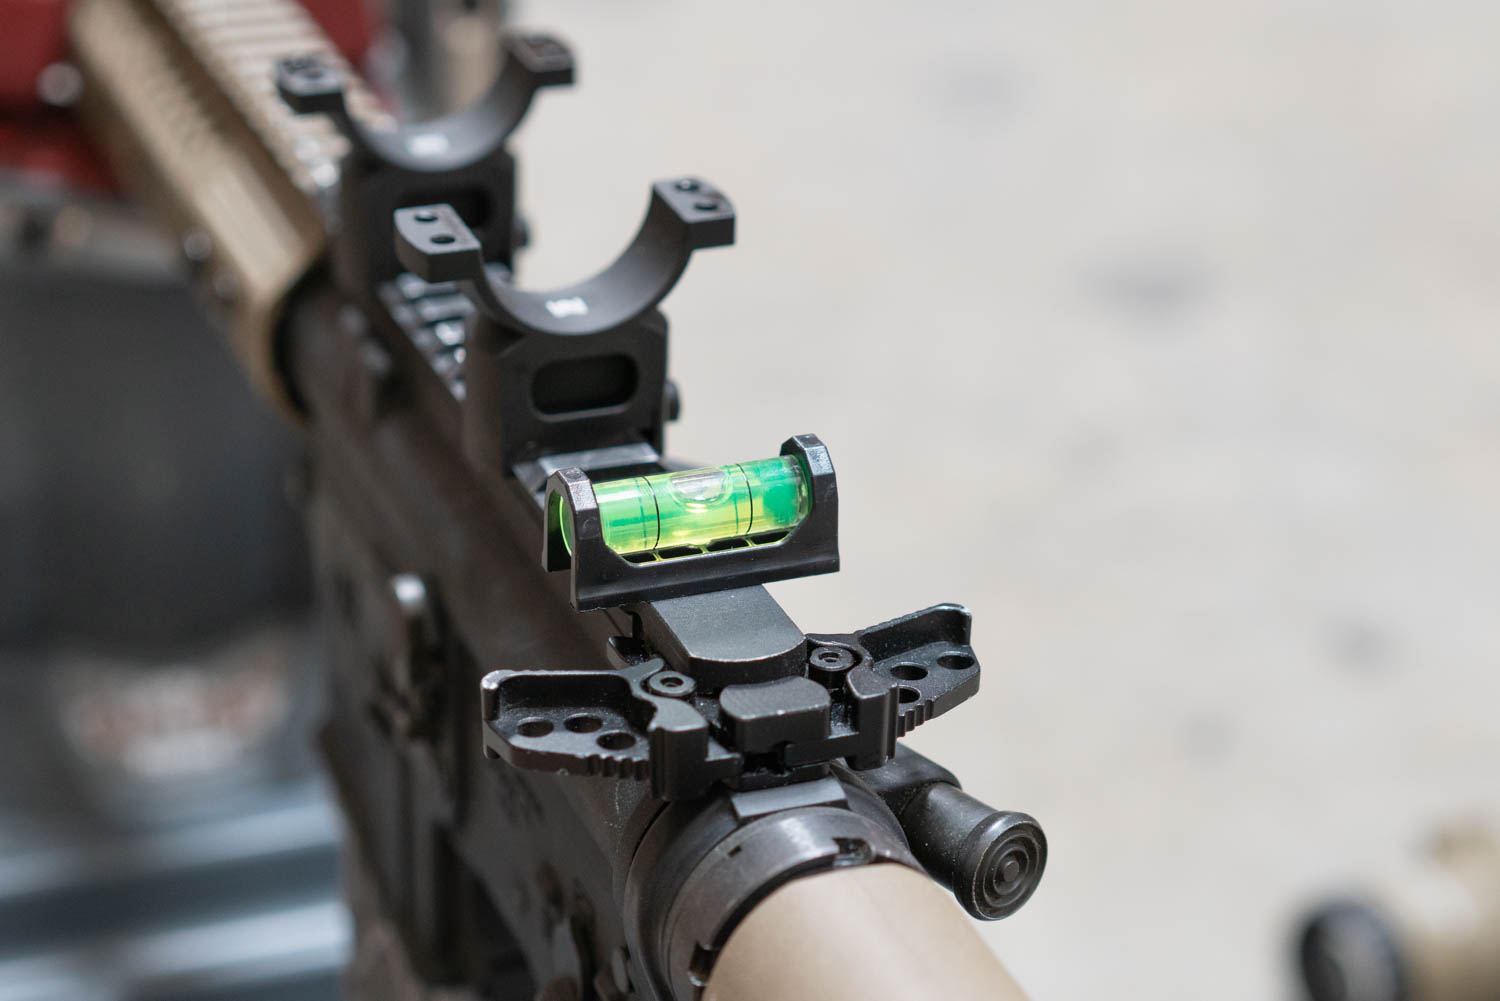
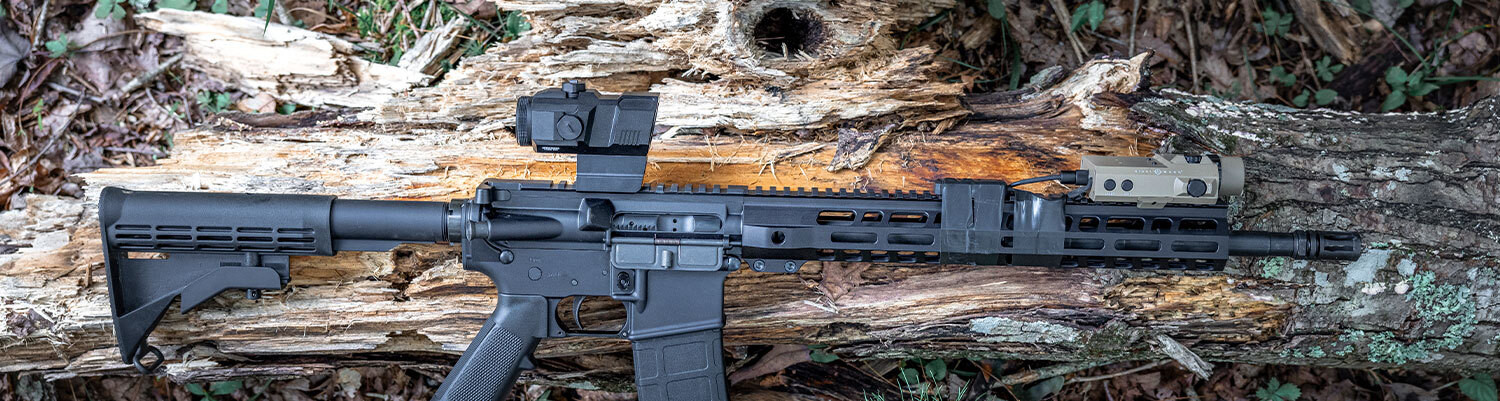
We recommend using anti-cant level bubbles as they can serve dual purposes: To check if your rifle is leveled when installing an optic and later in the field when using the setup to ensure that your rifle optic setup is leveled when operating.
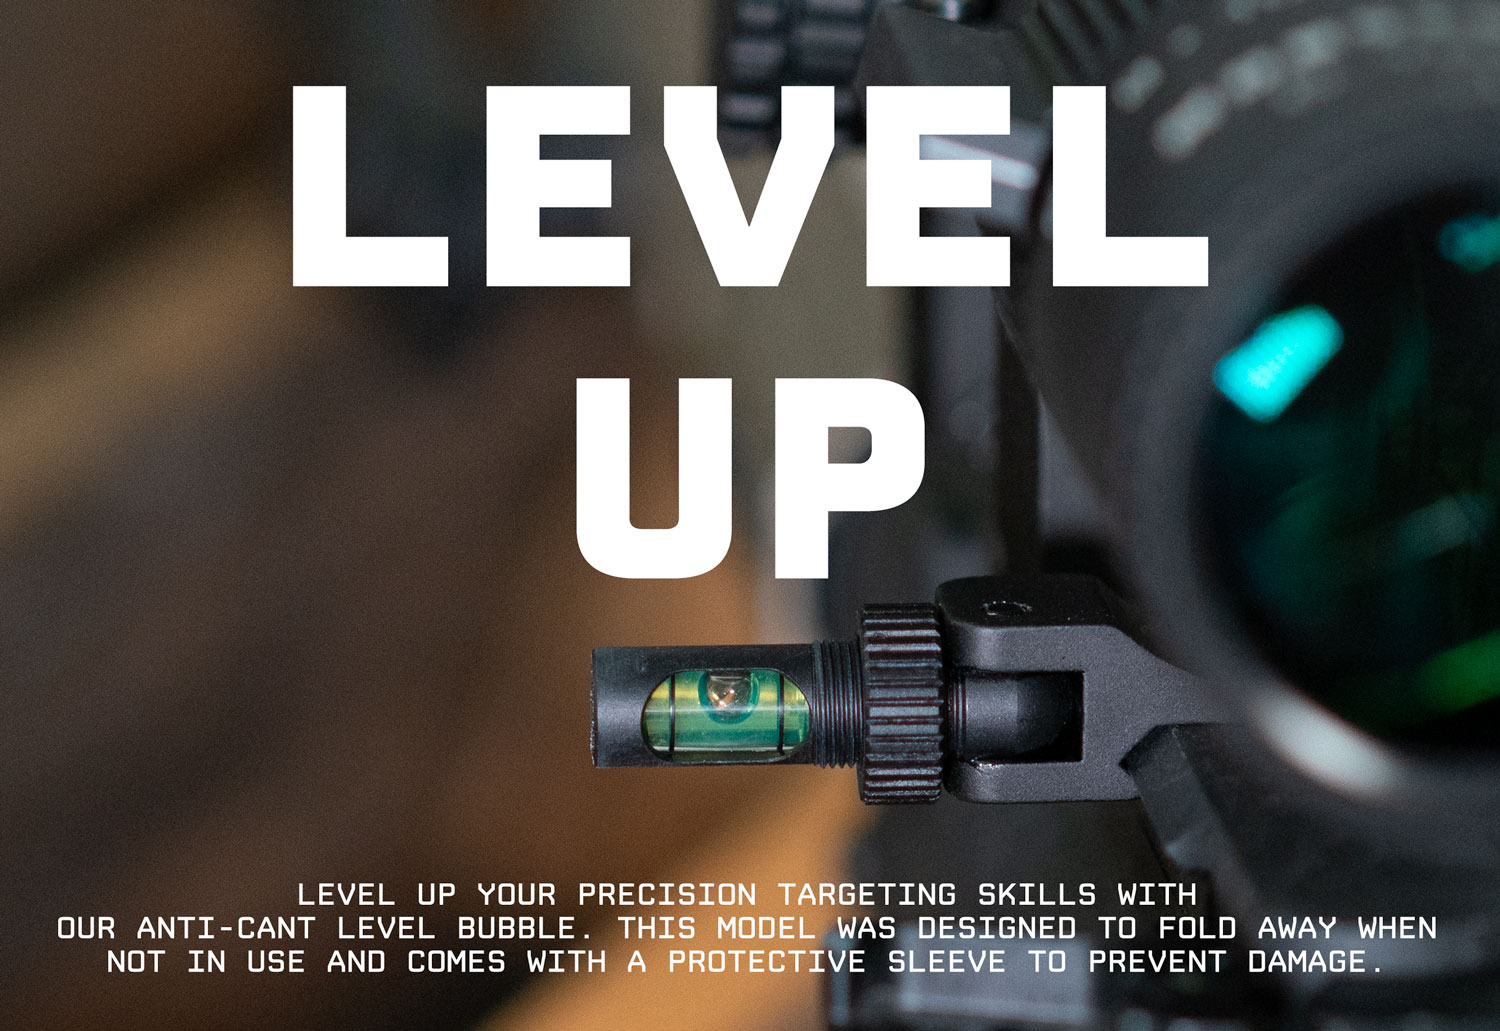 An anti-cant device such as the one above can serve you in the field as well making sure your setup isn't skewed.
5. LEVEL THE SCOPE
Place the leveling tool on top of the scope's turret and adjust the scope's position until the air bubble is centered. Double-check to make sure that the rifle remains leveled as well during this process.
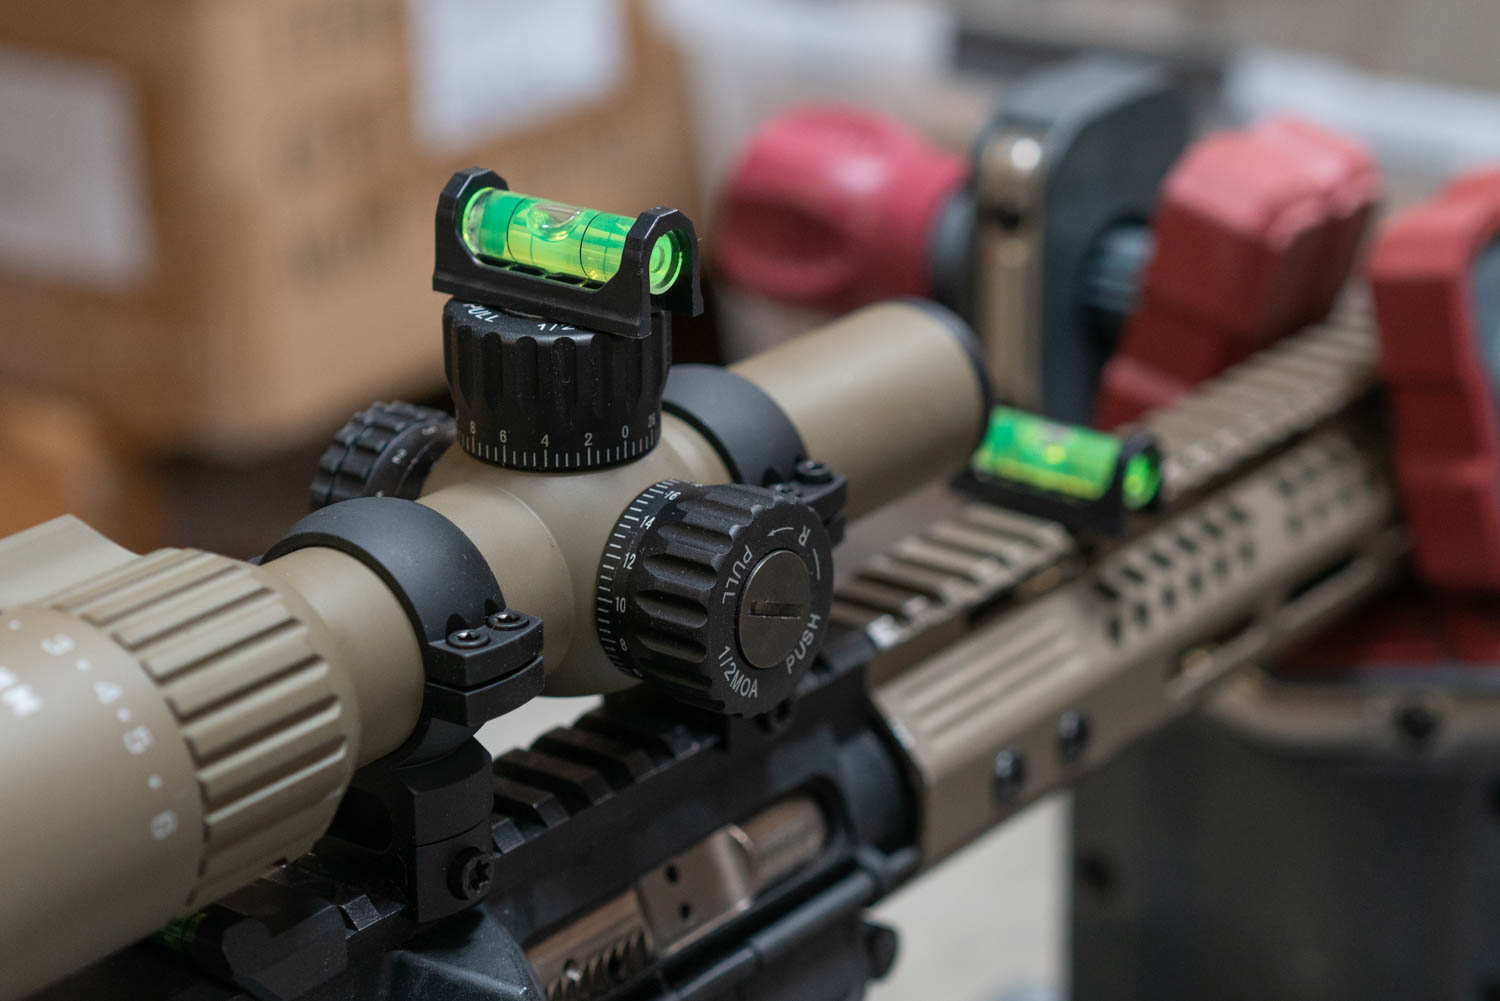
When using level bubbles to level your rifle, make sure to place it on the upper receiver and not on the handguard as your handguard might not be straight. Placement in image was for demonstration purposes.
Optional: You can skip steps 4 and 5 by using something like this lever leveling tool pictured below. The tool kit has 3 items that line your scope’s turret base to the rail you are mounting to ensure that the scope is aligned with your rifle, without worrying about your scope and rifle being leveled during the installation period.
6. TIGHTEN THE SCREWS
Once you're satisfied with the alignment, tighten all screws on the rings slowly. Once it gets snug, apply force in a criss-cross pattern, as you would with the wheels on a car, to prevent the rings or mounts from warping, starting from one end of a ring and going to the opposite diagonal one. securely with the appropriate torque settings.
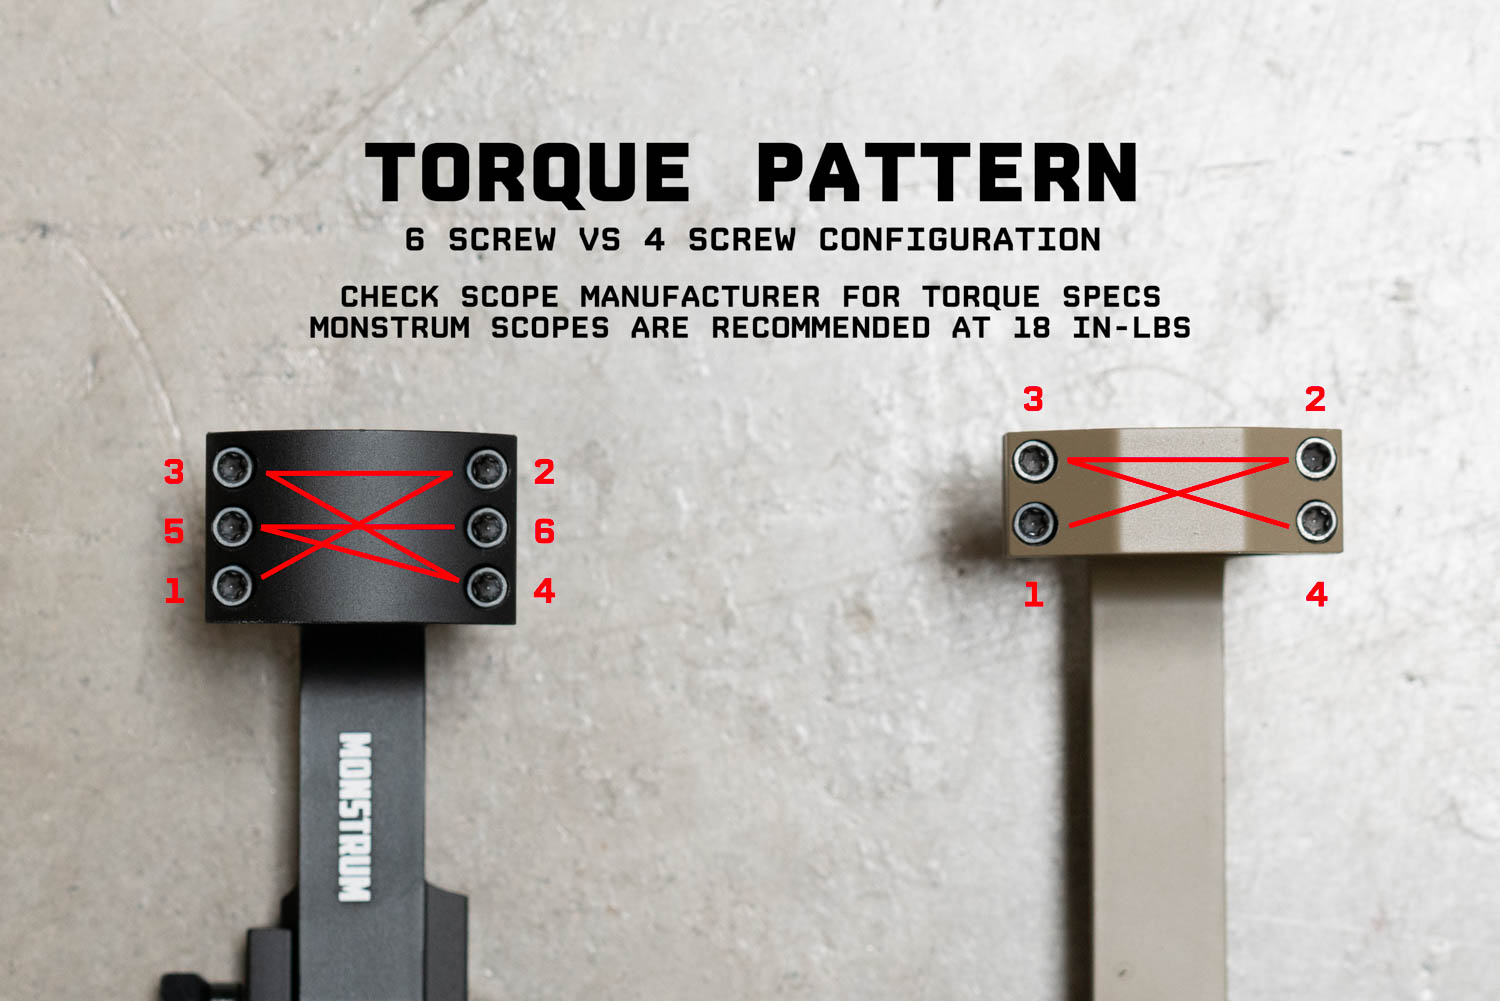
Generally speaking, the torque specification applied to the rings comes from the scope manufacturers, please consult manufacturer instructions before torquing down your scope rings or mount. If the scope is purchased from Monstrum, the following is the recommended torque specification for all Monstrum scopes unless mentioned otherwise.
Ring Torque Specification for Monstrum Scopes: 18 in-lbs. If you do not have a torque wrench, we suggest hand tightening and add an additional 1/8 to 1/4 turn to get them snug. Blue threadlocker is not recommended for the screws on the ring.
7. DOUBLE-CHECK THE ALIGNMENT
Double-check the alignment by looking at the level bubbles or visually inspecting the reticle to check the alignment.
By following these steps, you'll be able to install a scope with a proper vertical alignment, ensuring it is ready for an accurate and reliable sighting. Click here to learn how to sight your scope in.