

Step-by-Step Guide: Sighting A Scope
May 5th 2023
If you're a shooter or a hunter, then you know the importance of properly and efficiently sighting in a rifle scope because, at the end of the day, no one wants to waste ammo, especially in this economy. A rifle scope no matter the price is only as effective as its accuracy. In this article, we will provide you with everything you need to know about sighting in a rifle scope. Before you sight in your optic, make sure your scope is properly mounted by following these steps.
To sight in your scope, you'll need to head to a shooting range or a safe, open area where you can safely shoot your rifle. The ideal distance to sight your scope varies based on your application but it is recommended that you sight your scope in at 100 yards
Caution: Before continuing, make sure your rifle is unloaded and that there is nothing in the chamber until it is time to test fire.
What You’ll Need: Rifle and scope setup, bipods or sandbags, rifle sighting target, and a be at the range or a safe open space of 100 yards.
Step 1: Make Sure Your Rifle is Stable
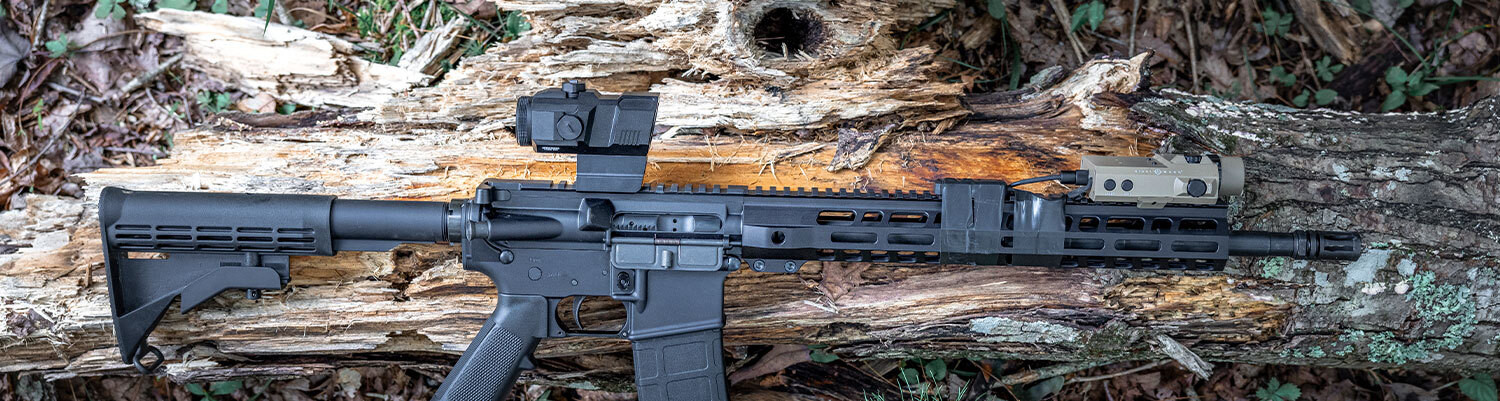
Make sure that you have a secure shooting rest, sandbags, or bipods so that you can consistently make adjustments without worrying about other variables such has shifting the position of your rifle.
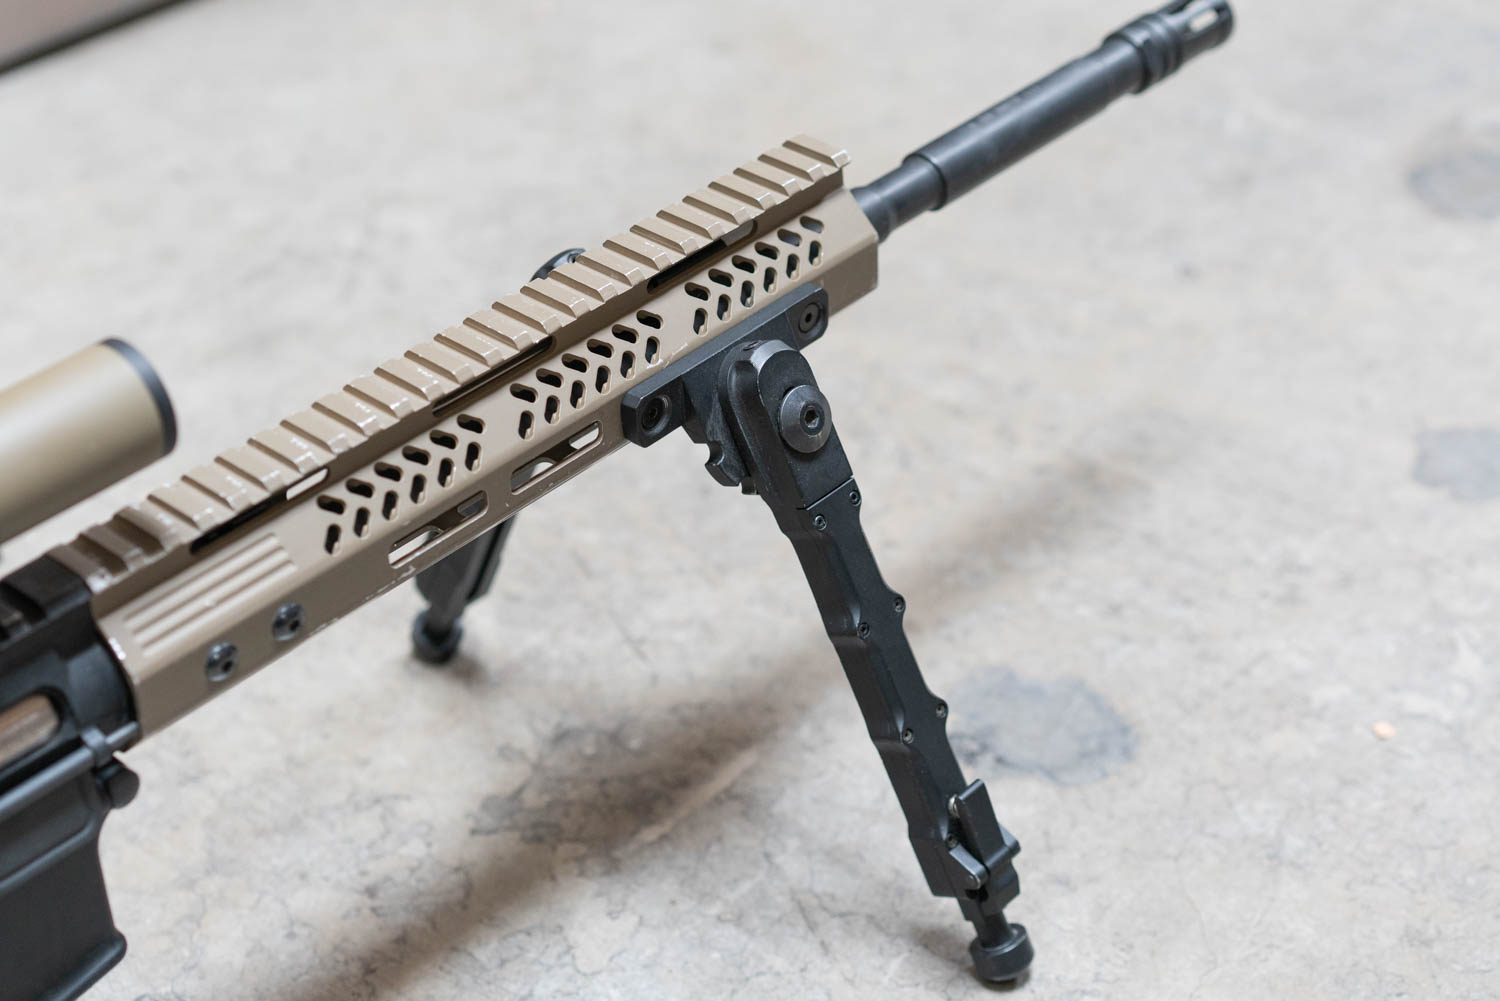
Make sure your bipod is secure to prevent it from moving around. Also a sandbag under the stock so that the optic is lined up will also help prevent you from moving the setup too much when sighting in your optic.
Step 2: Focus the Reticle
The diopter/reticle focus ring is the black ring attached to the ocular lens at the end of the eyepiece housing of the scope and controls the sharpness of the reticle. The sharpness of the reticle is different to each user. To focus the reticle, point the optic to a plain background such as a white wall or the sky. To adjust the diopter ring simply turn the ring counterclockwise until the reticle is as sharp as possible.
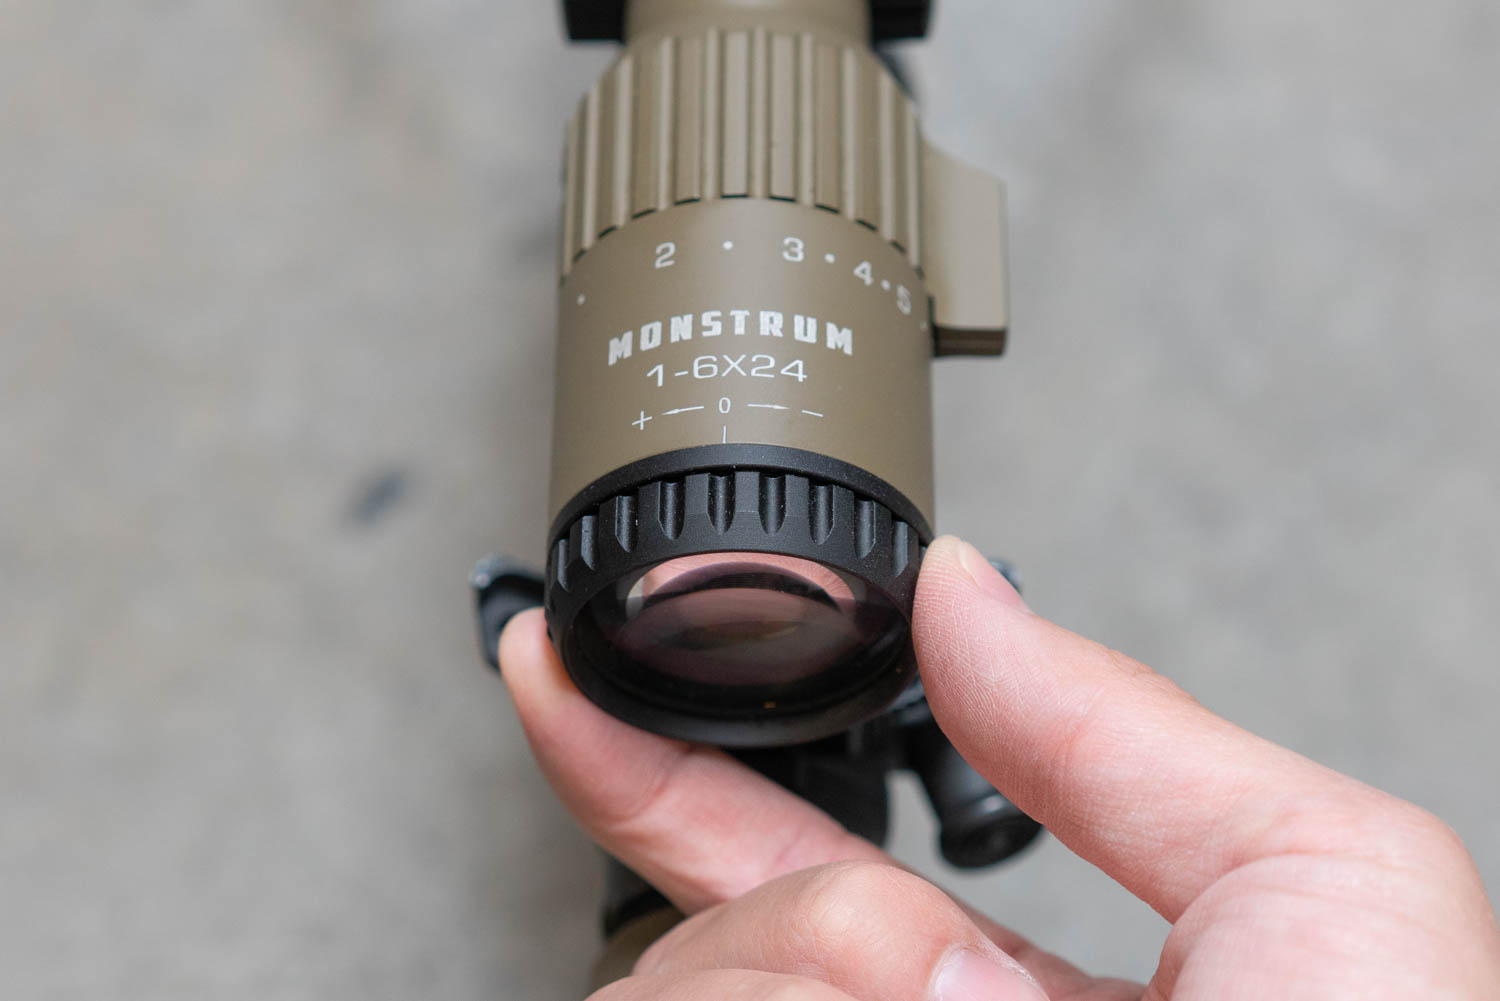
Turn the diopter ring counterclockwise until the reticle is as sharp as possible.
Step 3: Adjust Parallax if Applicable
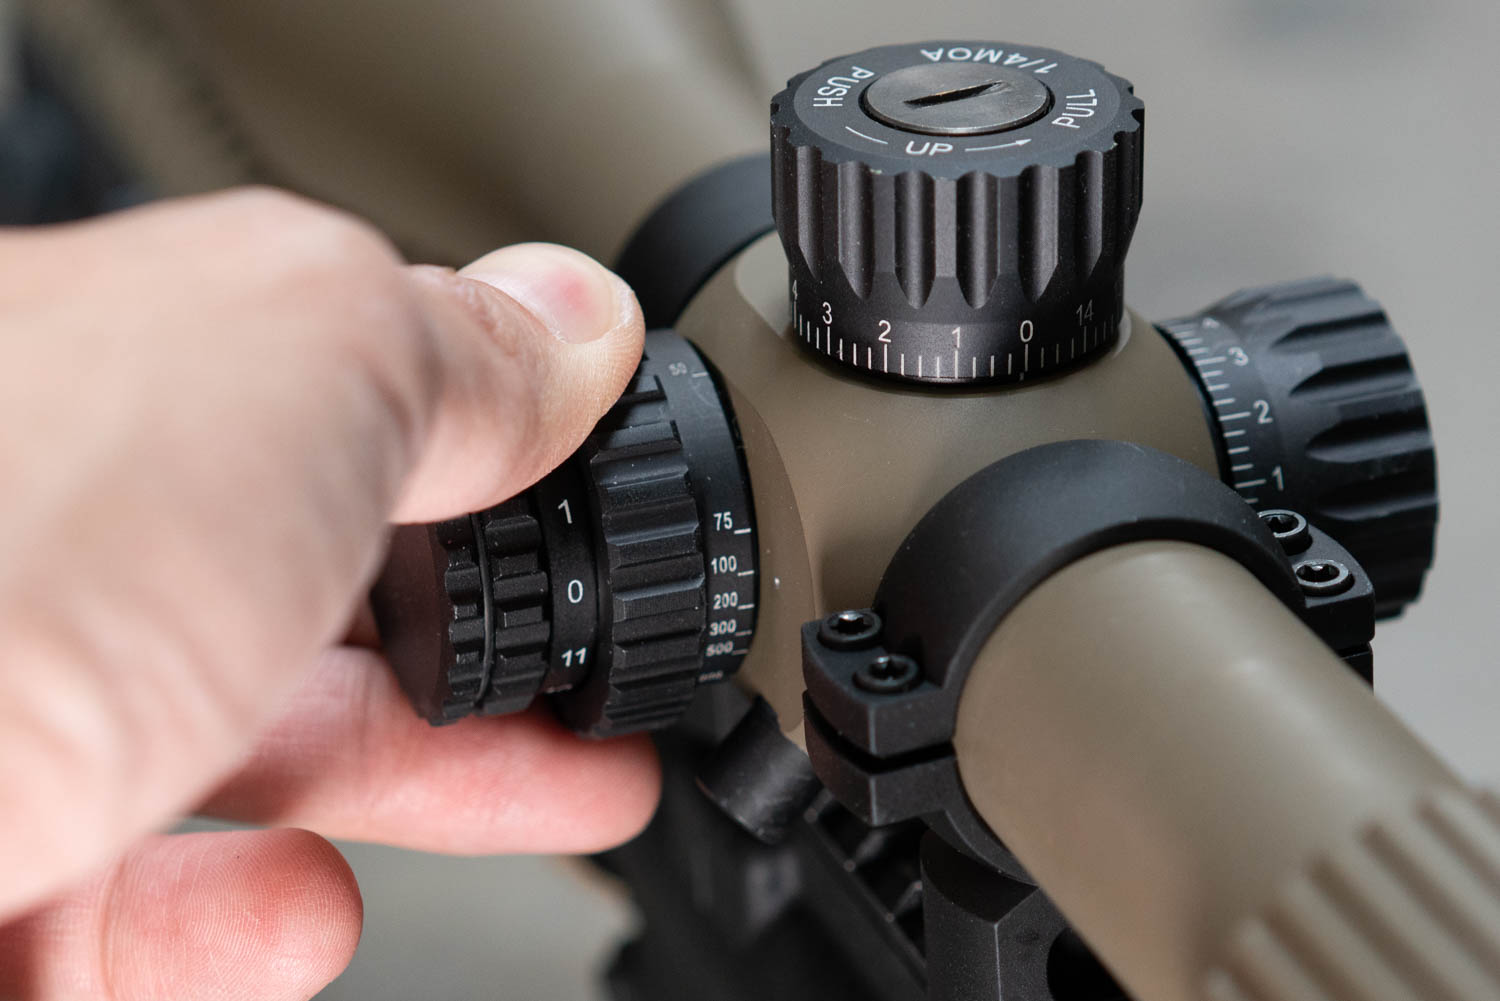
Some scopes come with parallax or adjustable objective (AO) adjustments. A properly adjusted parallax allows you to obtain better focus and accuracy. Set the parallax adjustment to 100 yards as this is the distance for sighting your scope. The parallax adjustment is usually located at the left side of the scope or front of the scope on the objective lens housing. You can quickly identify the parallax knob by it’s markings which are usually measured in yards.
Some key features when the parallax is properly adjusted is when the picture is as sharp as possible and when you are shifting your head your reticle isn’t moving (floating reticle).
This G3 5-25x50 FFP Rifle Scope features a parallax adjustment knob on the left hand side.

While the 6-18x50 Guardian SFP featured here uses a slightly different style of parallax adjustment in the form of a adjustable objective or AO.
Step 4: Bore Sight Your Rifle
Bore sighting is the process of aligning the rifle scope with the bore of the rifle, without firing a shot. This is done to ensure that the rifle is aiming in the same direction as the scope. To bore sight your rifle, remove the bolt from the rifle, and look through the bore of the rifle. Look for a target, and center it in the bore. Look through the scope, and adjust it until the crosshairs are also centered on the same target.
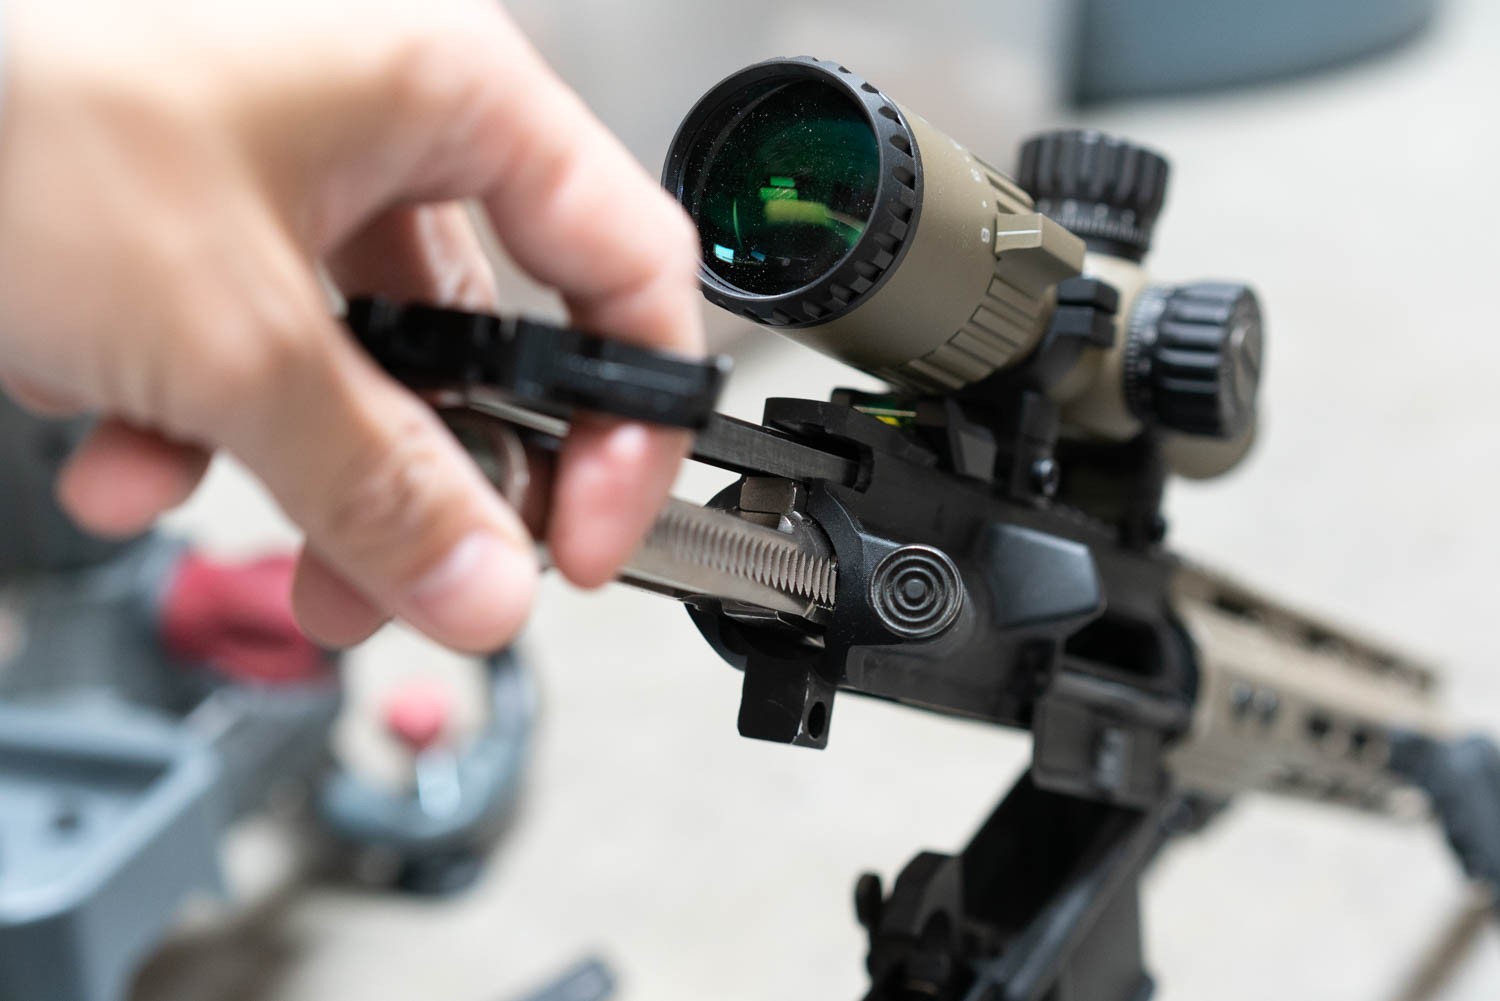
Remove the bolt. Specifically on the AR-15 platform, you will need to remove the lower receiver as well to view through the barrel.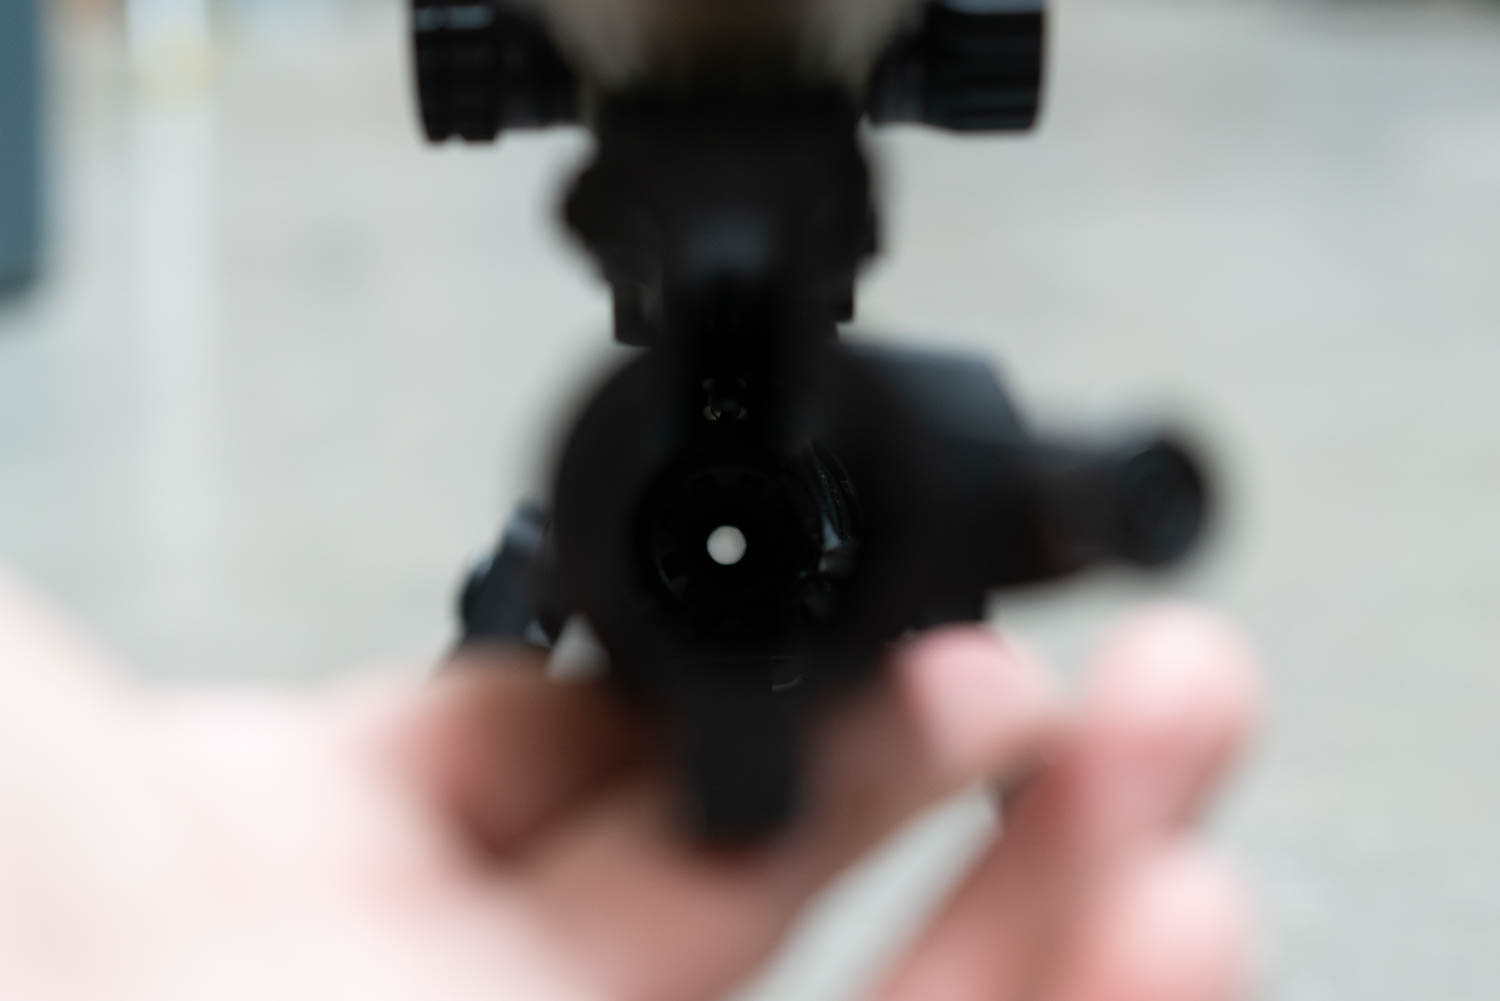
Looks tiny here because of camera focus limitations but you will be able to look through and bore sight your scope.
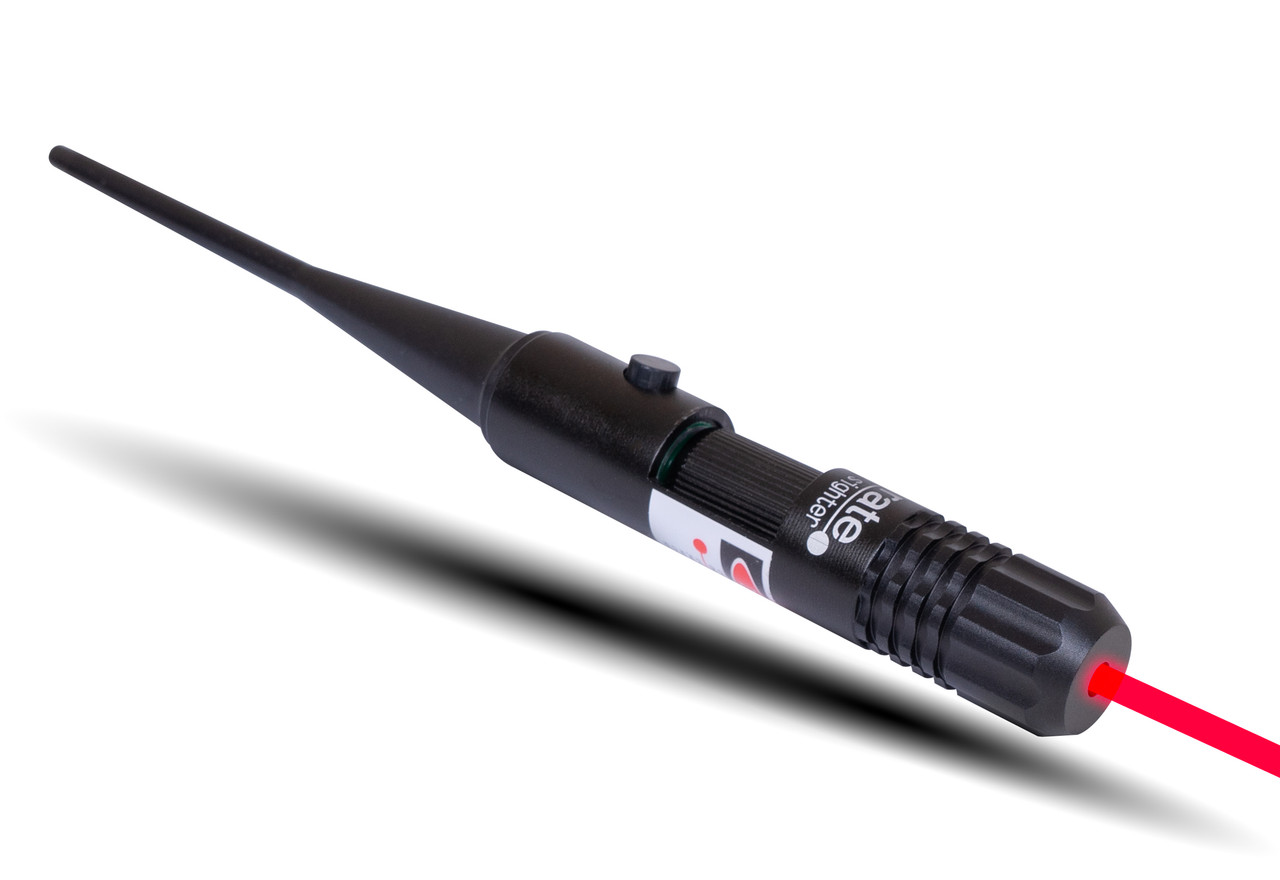
We have laser bore sighters which allows you to do the same without removing your bore. To use these, all you need is to turn on the laser and mount it in the chamber or barrel based on selection.
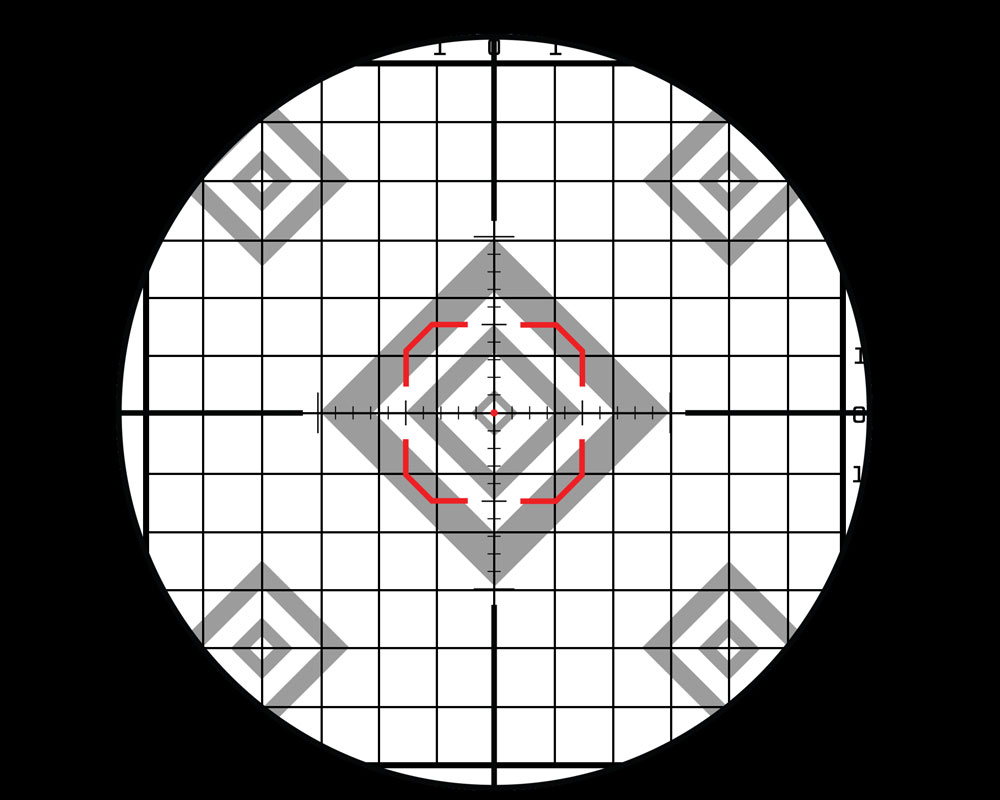
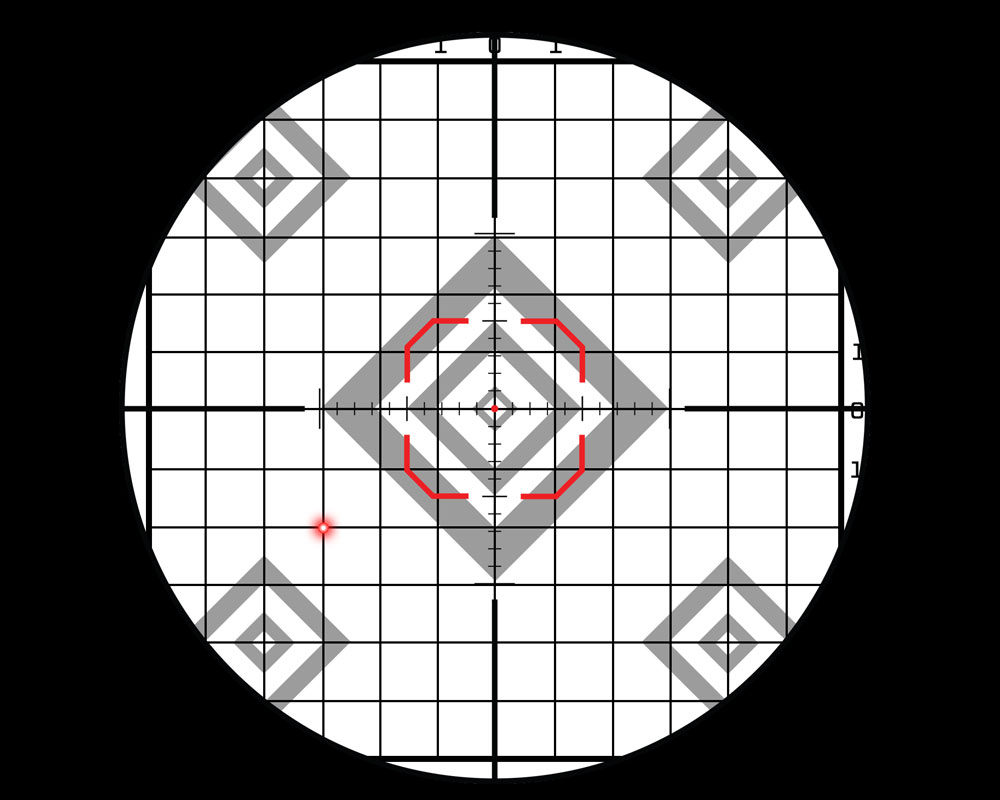 This is a visual representation of what it looks like when you have a laser bore sighter, looking through the scope.
Step 5: Sight In Your Rifle Scope
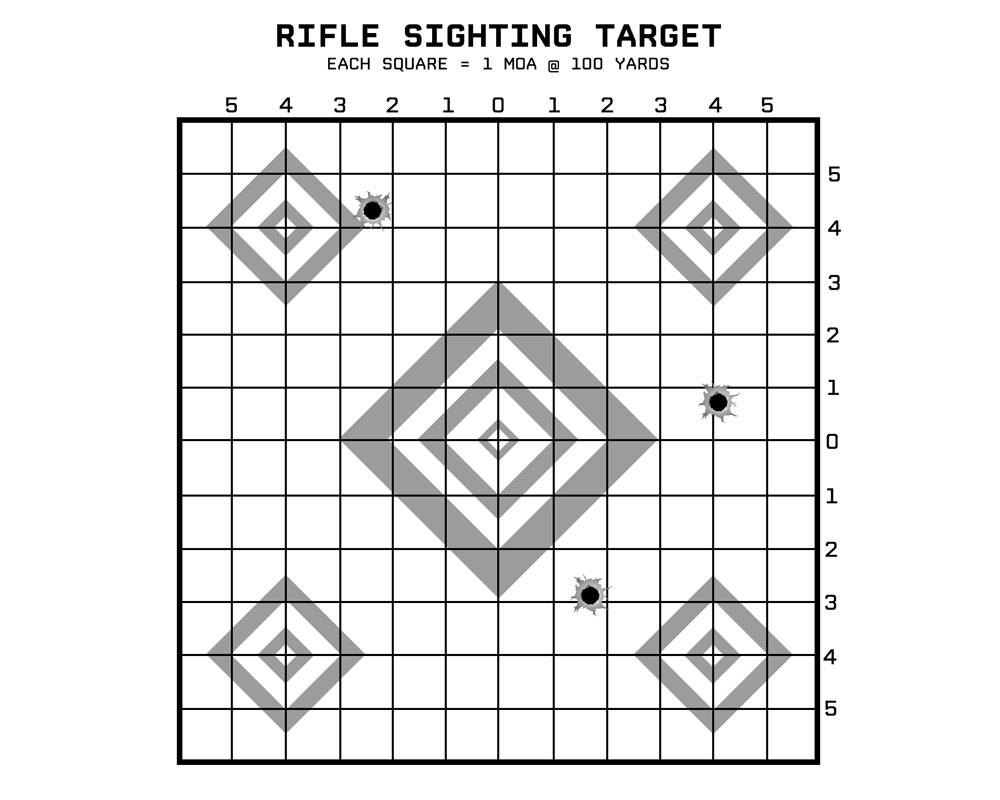
Make sure your rifle and optic are secure for the best outcome. Begin by shooting 3 rounds at the bullseye of the rifle sighting target paper.
Target the center of the sighting target. It is important to aim at the same point for all 3 shots.
Make a note of where your grouping is on the target. If it lands at the corner left like in the follow image, the grouping is about 3 MOA to the left and 3 MOA down from the center.
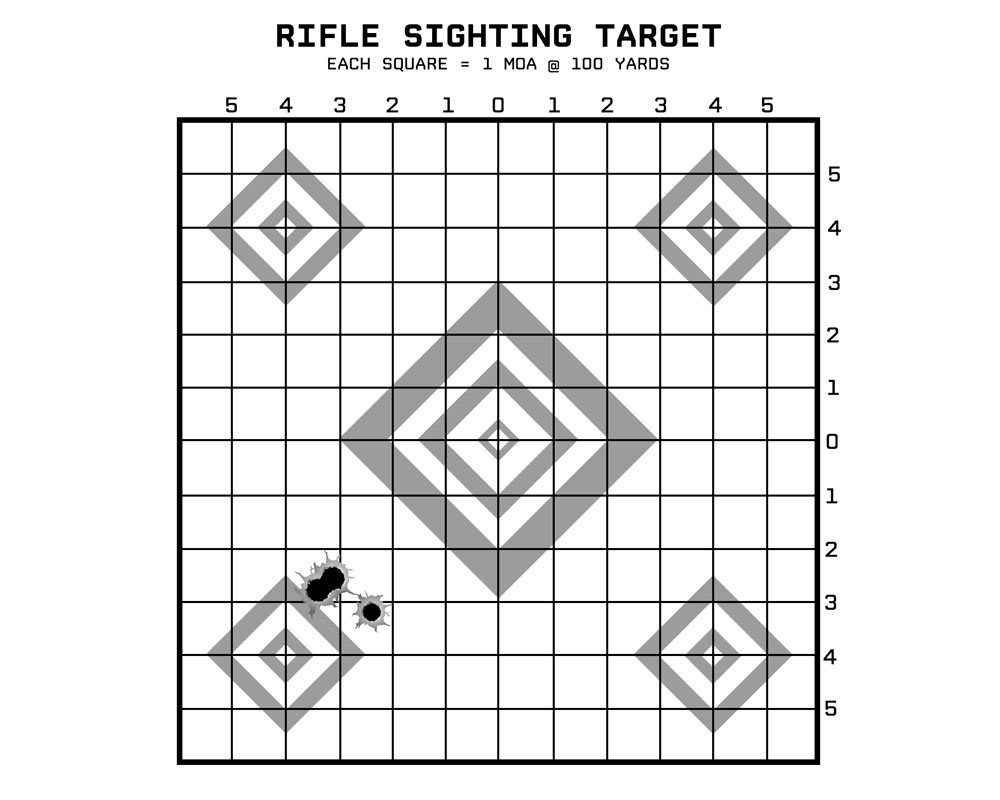
So you’ll want to adjust 3 MOA up on the elevation turret, and 3 MOA right on the windage turret. Typically, a scope’s windage and elevation degrees of adjustments vary based on the power. Scopes that offer more power will often times have more degrees of adjustments such as ⅛ MOA for more precision. You can typically expect ½ MOA, ¼ MOA, and ⅛ MOA adjustments on most scopes.
Let say our scope is ¼ MOA per click or 4 clicks per MOA and we need both 3 MOA up and 3 MOA right. You’ll need 12 clicks in the direction that indicates up on the elevation turret and 12 clicks right in the direction that indicates right on the windage turret.
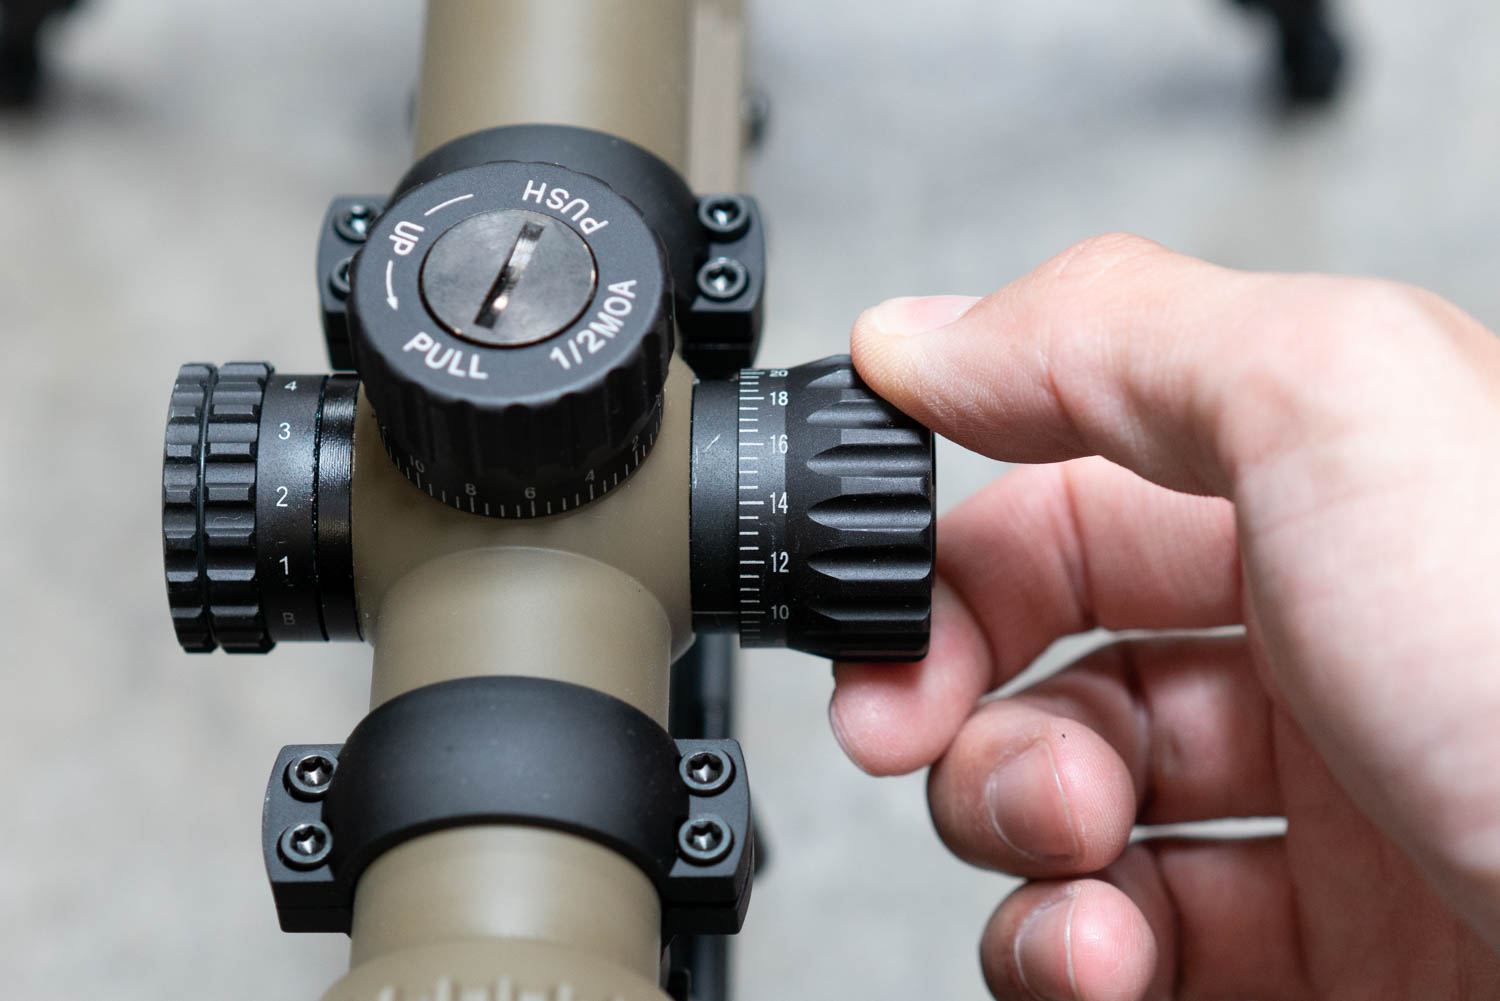
Windage controls can be found on the right hand side of most scopes.
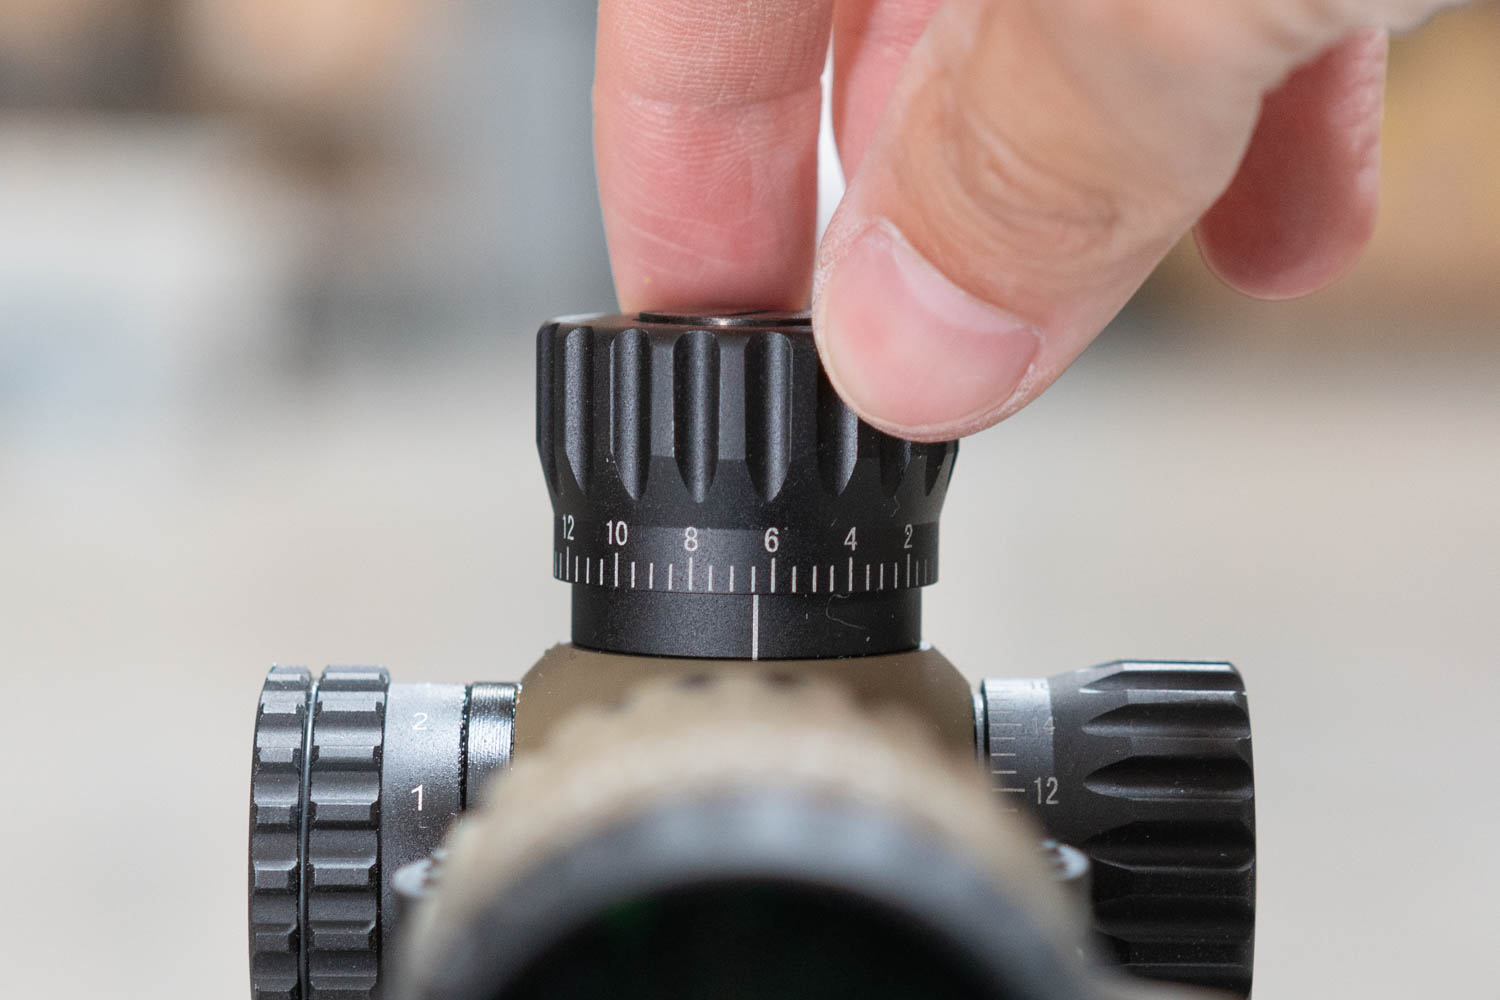
While elevation controls can be found on the top of the scope.
After adjusting your scope take 3 more shots at the center target. It should be centered. If it is still off, repeat the previous step until your scope is centered.
If you notice an issue with grouping such as each hole is not near each other, it means something is not right such has moving your rifle during each shot or the scope is not properly mounted.
This means there is some sort of inconsistency in repeatability such as shifting positions while taking each shot or improper scope mounting.
Some Final Thoughts
Finally, it's important to confirm your sighting. Shoot a few more rounds at your target to ensure that your rifle is consistently hitting where you want it to. If you're satisfied with the accuracy, then you're done.
Some scope offer locking turrets in the form of push-pull caps allen key lock, or turret covers which should be applied to prevent undesired changes.
In conclusion, sighting in a rifle scope is a process that requires patience, practice, and precision. Follow these steps carefully, and you'll be well on your way to accurately aiming and shooting your rifle. Remember to always practice gun safety, and to never point your rifle at anything you're not willing to destroy.
When shooting past 100 yards, it gets more important to make sure your rifle optic setup isn’t canted. Canting is when the rifle and/or optic is slightly tilted. It is common for the naked eye to misjudge how straight something is and at a distance of 400 yards, a cant of 3 degrees can cause the shot to be 3 inches off target. This effect is magnified and at a distance of 1000 yards a cant of 3 degrees can cause a shot to land 24 inches off target. An anti-cant device is useful for those who are into precision targeting, hunting, or using their rifles past 100 yards. These devices mount to either the rifle or the optic and with just a glance, you will know if you are leveled. They can also serve the dual purpose of making sure your rifle is leveled during the optic mounting process.
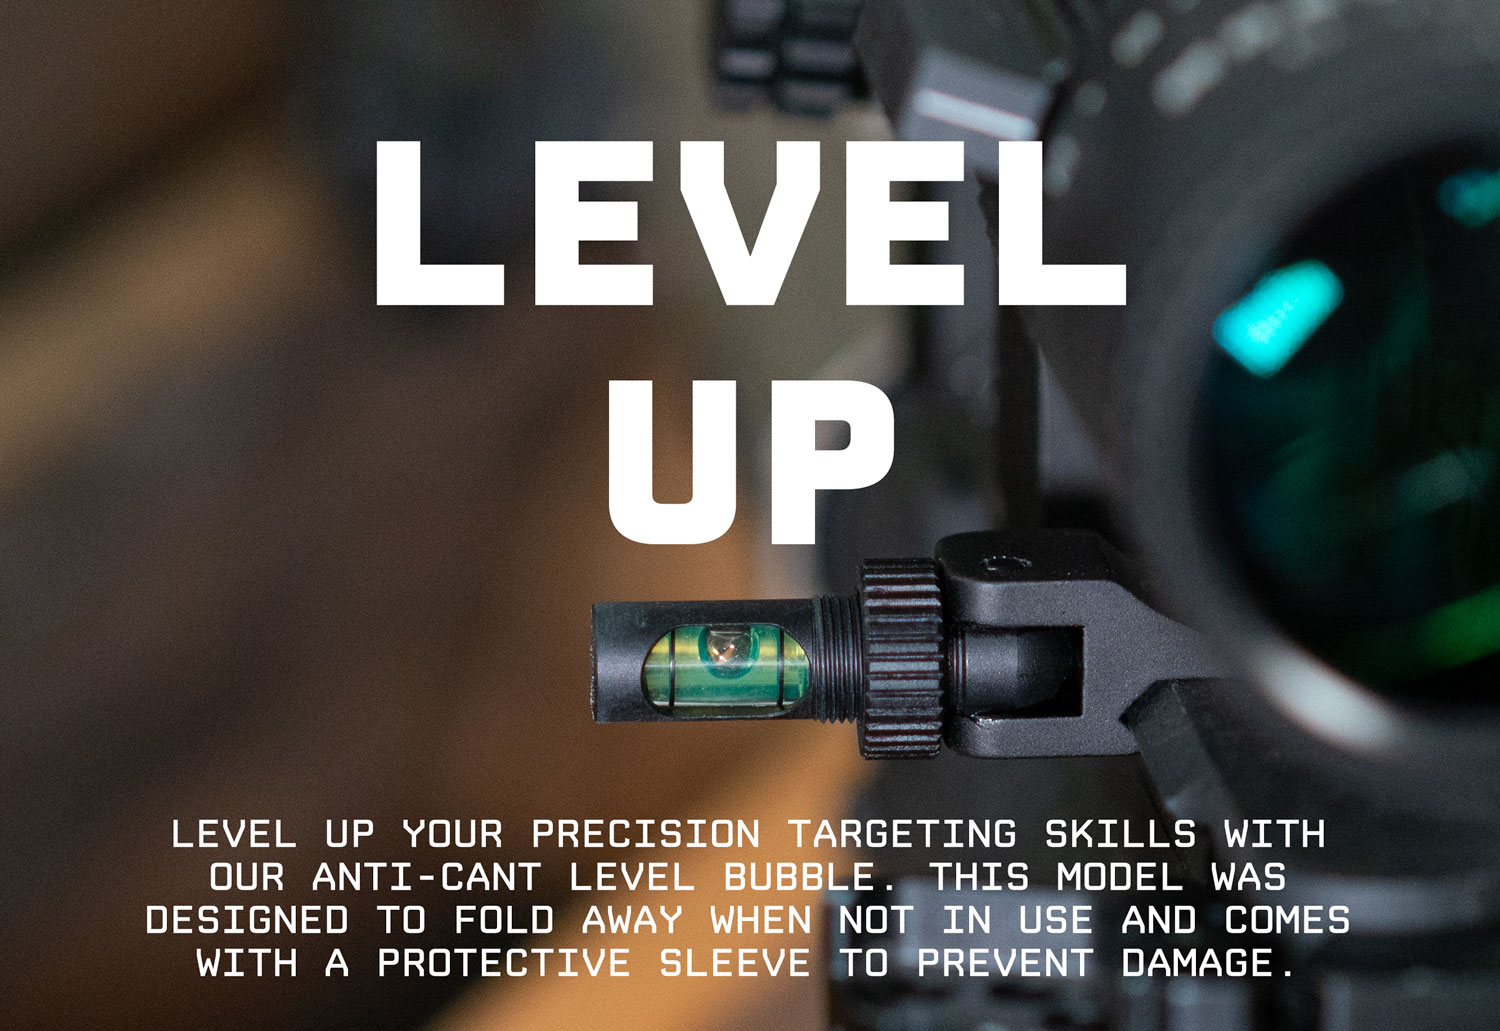
The anti-cant device will only work if the scope is properly mounted. Check out our step-by-step guide on the steps to mounting your scope to ensure vertical alignment.